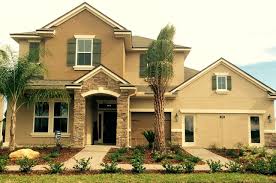
Exterior Painting 101
Exterior house painting begins with well-organized preparation of all surfaces to be painted. Below are some straightforward rules and things to examine for before continuing with the exterior painting process.
Thoroughly inspect your house for damage or rot on your home. Look for signals of sharp – peeling edges or chalking of the paint on your home. Water damage shows as rot, stained or disfigured areas. These issues will need to be accurately fixed before moving ahead into the project. Mildew and mold are also other problems one may face while repainting the home. After any wood repair take precautionary steps to stop any more destruction from happening. Regularly exterior house painting needs more time and effort; as the outside of any house may have more damage due to sunlight/rain, which makes paint fade and wood to warp.
In addition, weather could cause mold and other sorts of harm.
First, you should start with pressure washing to get rid of residue and to make sure the surface is clean. Mostly after pressure washing, you can begin renovating, depending on the scale of the damage. After washing and all repairs are completed, start scraping and sanding any loose or troubled areas. Attention must be taken in this step due to environmental and physical concerns. For example: if your place was built and finished before 1980, it is possible that your finish may include lead based paint. checkout what you must do and what not to do in those cases. It’s better to be safe than sorry; especially when it comes to your own health and home.
As you continue forward, you need to apply caulking to any voids where water can leak. Now mask or shield any areas where you don't want for paint to go. Masking paper and painters tape should be used. This is as important as the rest of the arrangement. If not done properly the whole exterior painting job can be severely affected.
If you chose to hire a professional painting company to do the job, make sure that correct exterior paint preparation and repairs is involved with the contract offer. Many painting companies don’t include these basic items.


Comments
Painting Contractor Blog